BENEFITS
Technique development
The development of the inspection technique is the start of every ultrasonic inspection. Basic inspection techniques can be drafted manually or on third party software but this is time consuming and requires transfer. UltraVision provides an extended set of capabilities for complex and custom geometries.
- Basic to Complex Geometries Management
- Custom Geometries Handling
- Scanner Creation Tool
- Overlays
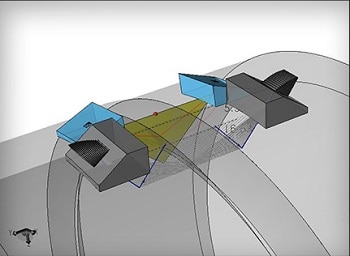
UltraVision features an advanced focal law calculator. One that is one common for the entire Zetec UT portfolio. This can handle probes with up to 256 elements and takes into consideration the embedded probe, the wedge and the material database. Graphical feedback is provided on focal law generation. Focal law calculation supporting Flat and cylindrical geometries is easy fast and accurate to ensure that probes are positioned optimally for the inspection. The focal law calculator supports all advanced ultrasonic inspection techniques, including Phased Array Pulse Echo, Pitch and Catch, Tandem mono and dual, plus conventional TOFD. UltraVision supports flexible probes, which have the ability to adapt themselves to irregular inspected surfaces. UltraVision can calculate focal laws to match the surface profile.
UltraVision will design a probe to meet the application requirements, assessing the theoretical parameters, calculating beam parameters and providing a 3D simulation of the acoustic beam. It will also simulate beam behavior if any of the channels are defective. Additionally, calculated wedge parameters can be exported to facilitate wedge manufacture.
Data acquisition
When it comes to setup building, calibration and data acquisition, UltraVision can handle it all.
- In Setup Building, UltraVision can effectively take care of user rights management (from individuals to groups) ensuring the integrity of the inspection. UT Parameter, Mechanical and screen view settings can all be restricted to defined users or groups
- For Calibration, various tools are available to check the calibration of mechanical and UT parameters. Plus automatic probe detection identifies connected probes, reads probe parameters, serial number and tracks any probe changes
- Regarding Data Acquisition, UltraVision acquires all the relevant data necessary for accurate and reliable inspections. This data is stored in a data file that can reach up to 20GB and can be filed or exported, according to user requirements
Data analysis
UltraVision’s powerful data analysis features provide an inspection advantage.
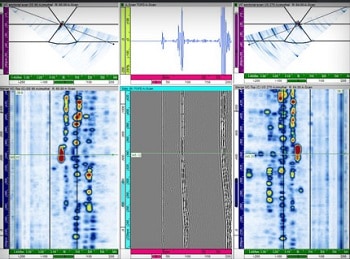
- Views and Axis: Provides a range of advanced views, which can be uncorrected, corrected linked or in 3 Dimensions. The software can also convert between Cartesian and Polar coordinate systems and can convert the Linear to Logarithmic signals
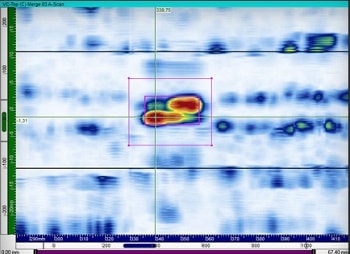
- Analysis Support: A large set of tools is available to assist with data analysis and sizing indications
- File Management: Data can be filed or exported according to user requirements
- Processing Tools: UltraVision also features a range of processing tools offering various data display formats and corrective processing. The original raw data is never compromised
- Parameters: All UT and mechanical parameters can be reviewed and displayed in information fields. Customized information is filed with dynamic links to Excel where specific calculations can be performed
Reporting
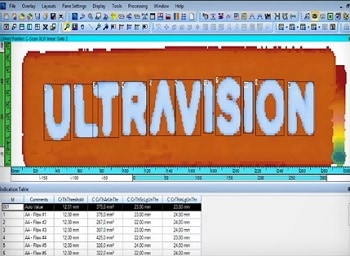
With UltraVision, reporting is highly flexible and powerful.


