Inspección de soldadura previa al servicio
Inspection Challenges
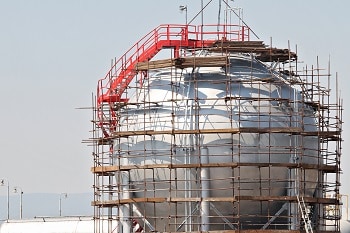
For this type of inspection, it is critical that the full volume of the weld is inspected. The position of the probes on each side of the weld must be carefully calculated and monitored during the inspection. Should the scanner drift, the full volume of the weld is not inspected as requested by codes and there is a high probability that the operator isn’t aware of that issue.
Recommended Solution & Advantages:
An integrated TOFD and Phased Array system is the optimal solution for this type of application delivering significant advantages including:
- Faster than radiography (single face access with direct imaging capability)
- No need to use external computers for setup and data transfer
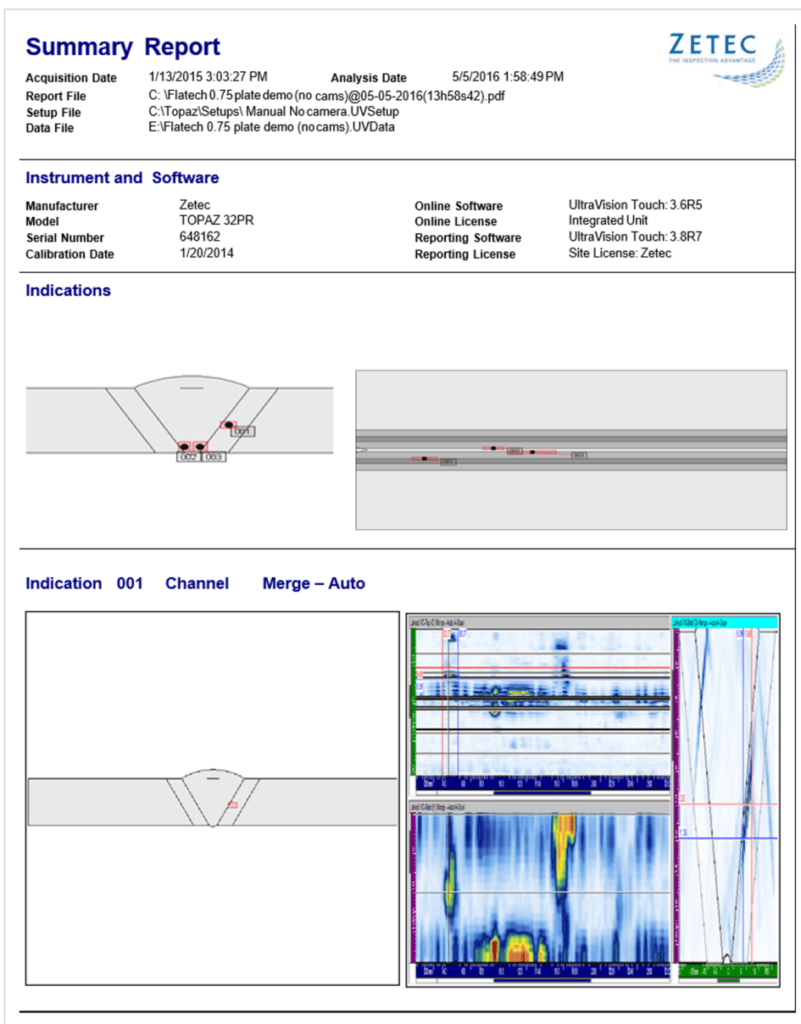
- Fast and automatic report generation
- Cut weld re-scan costs
– live video stream during acquisition allows operator to immediately correct scanner trajectory
– 16bits digitation allowing offline gain adjustment without loosing linearity
Better probability of detection
- Onboard calculator ensures the full volume of the weld is covered
Optimized analysis
- Real time corrected view
- Ability to merge groups
Complete traceability
- Files can be inspected without data converters
- Probe position is recorded at the same time as ultrasound data
Zetec Products:
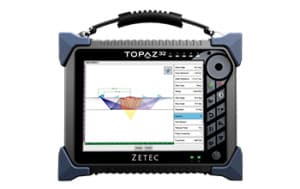
Integrated TOFD and Phased Array weld inspection solution
- Inspection preparation: Onboard calculator enables the operator to calculate the probe’s position ensuring optimal probability of detection
- Proposed set-up: Includes specific thickness/materials and diameters covering the majority of weld configurations in storage tanks
- Data acquisition: Create a C Scan related to a radiograph image. 2GB file size enables 100% vertical joint coverage with multiple groups in one scan
- Onboard analysis: Real time volume corrected views. Merge different groups for optimal analysis conditions
- Onboard reporting: Detailed report generation including weld sketches that automatically map the indications listed in the analysis table
Vision Kit
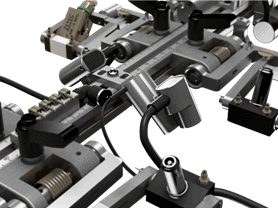
- Two micro cameras stream live view during scanning for immediate trajectory correction when drifting
- Streamed images from micro cameras recorded for post analysis and data validation
- Virtual laser overlay displays a software reticule on the image emulating a laser pointer
Weld Crawler Scanner
Robust design for quick and accurate probe positioning
- Dialog encoder – automatically recognizes when connected to a TOPAZ32; Setup is adapted to the scanner
- Two optional micro motors can automatically compensate for accidental misalignment from obstacles
- Adjust scanner direction directly from the TOPAZ32 touch screen


