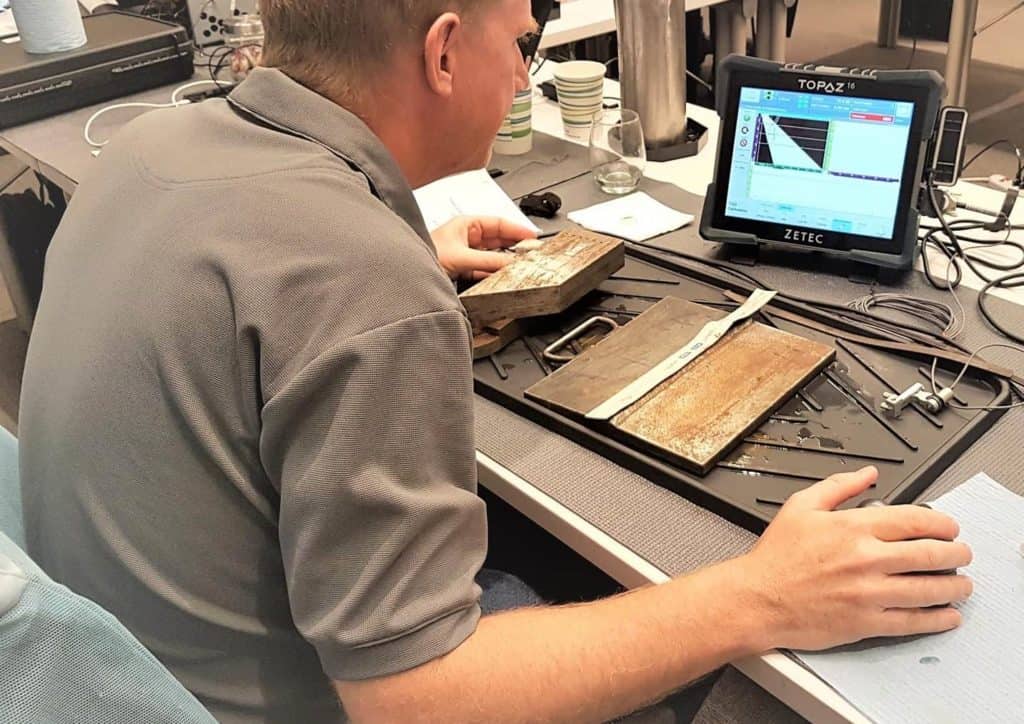
Understanding the Ultrasonic Equipment Calibration Procedure

There’s a saying about non-destructive testing: if the flaws were large, you wouldn’t need equipment to see it. Ultrasonic testing can find the smallest cracks and the tiniest incongruities, over unusual angles, or vast, flat surfaces. It is an exacting procedure on which so much of an operation rides.
As such, ultrasonic testing equipment needs to work flawlessly every time. It needs to be able to detect damage on each unique component or asset. Proper calibration, for each inspection and for instrumentation performance, is a critical part of this process. The ultrasonic equipment calibration procedure for each inspection, vital to the success of any ultrasonic testing campaign, can be complicated. However, some leading manufacturers developed set-up tools to simplify it and ensure more accurate readings. Understanding how to calibrate equipment is the first step to ensuring the integrity of any NDT process.
Why Ultrasonic Calibration is Needed
Ultrasonic testing involves a process where a high-frequency sound wave is pushed through a material. If there are anomalies present, an echo is picked up by the ultrasound instrumentation. The image is essentially “drawn” by scanners, probes, and wedges, depending on the material. Of course, it isn’t just a matter of scanning over a surface. There are a lot of factors that go into a precise scan. These include:
- Construction material
- Density
- Size
- Shape
- Angles
- Connections
- Operator skill
There are many different combinations and permutations that go into each analysis. They determine the precision and accuracy of the scan. So all equipment requires calibration to account for each scan’s unique circumstances.
What the Ultrasonic Equipment Calibration Procedure Checks
One area managed by calibration is testing the Time of Flight for the actual soundwaves. As the Institute of Nondestructive Testing puts it, “one of the mandatory calibrations is the well known time base calibration that can be defined as the process developed to establish a correspondence between the time spend by the wave to go and come (time of flight) from a known reflector and the distance traveled.”
That is the first measure, and its importance is evident. But there are other vital measurements, many of which involve the tools that make the images. Zetec created tools within UltraVision Software to simplify each inspection calibration, with two preloaded options designed to be user friendly while checking for common issues.
One of the most straightforward options is the Element Check. This process verifies probe wedge coupling. Reliable coupling protects the integrity of the reading. A couplant can dry in areas not visible to the naked eye. A failed calibration is indicative of this. While running the Element Check, the wedge will be used as the reflector to measure sensitivity within acceptable parameters. Elements found to be outside of the allowable tolerances can be deactivated.
The Wedge Check is another option that allows the user to verify element heights and angles. Again, the wedge is the default reflector. The software then calculates the values of that wedge and populates them into pre-existing fields. Focal laws are then applied based on those values. This process also permits the user to reverse the probe orientation without the need for manual intervention.
The Value of Ultrasonic Equipment Calibration Procedures
These ultrasonic equipment calibration tools eliminate the need for more manual setup, which can be challenging and error-prone. Much of the work is managed through the software’s interface, making this a much more streamlined approach to calibration. Of course, it will still be necessary to train the individual completing the calibration on that specific equipment, though many NDT manufactures offer this training as a service.
Instrument calibration is far more complicated and can require the assistance of an experienced technician. This individual will make use of a reference block and test signals to evaluate depth and amplitude. These tolerances are then compared to the parameters provided by the equipment manufacturer, and adjustments are made based on those results.
What is extremely important to note is that no one calibration method will work for all devices from all manufacturers. While there are standards established by ASTM International—formerly the American Society for Testing and Materials—these are more designed around setting the destination, not the process to get there. When in doubt, it’s often wise to work with a third party who provides certified calibration assistance.
An excellent ultrasonic equipment calibration procedure will increase the likelihood of accurate readings and help users keep their equipment performing in top condition. However, it can be quite an advanced task. For each inspection, software designed by a company that understands these devices is crucial. Instrument performance calibration on the other hand can be completed by experienced third parties specializing in this type of work. Overall, proper calibration is vital, so it’s essential to make every effort to complete it as accurately as possible.
Zetec is a major provider of ultrasonic equipment and certified ultrasonic equipment calibration services. Contact us today to get the top solutions to protect your equipment.
