Nondestructive Testing for Metal Casting Defects
As one of the earliest known manufacturing processes, metal casting has been a go-to metalworking process in industries for centuries. Oil and gas and nuclear industries have been casting steel and other materials for components like pipes, elbows, or risers.
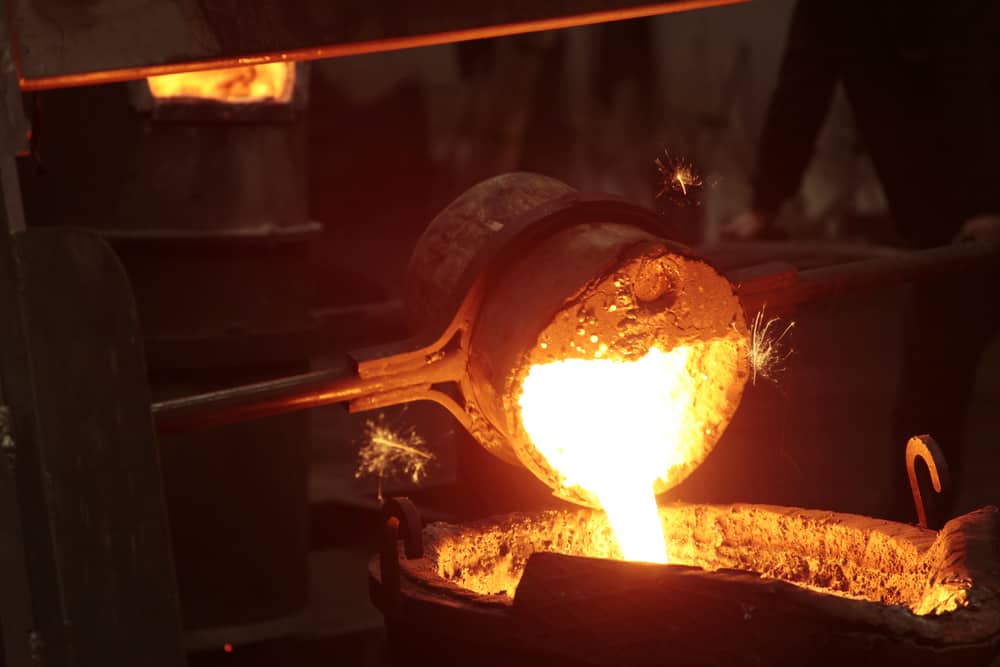
The casting process involves pouring hot molten metal into the die or mold and letting it solidify to get a desired geometrical shape. This technique has made it easier to design custom or complex geometrical components in an economical way. As a result, we can often see cast metals being used in our daily lives in, for instance, engine blocks on cars, train wheels, or traffic light posts.
However, before these components are put to use, they must go through an elaborate inspection process. This is required because the molten metal may leave pores or voids within the cast during solidification. The probability of these flaws developing into more severe cracks during stress exposure is high. Nondestructive testing (NDT) can easily identify these metal casting defects without damaging the component. The quality and safety assessment through NDT is vital to ensure that the component is fit enough to be used.
Types of Metal Casting Defects
As with any other manufacturing process, there is a probability that defects may occur during metal casting. Usually, heat treatment of the metal or metallurgical factors can play a role in developing metal casting defects. These defects can exist in metal in many forms, such as:
- Porosity: When the metal is liquified, it dissolves a large amount of gas within it. When the molten metal is poured, these gaseous bubbles are trapped. During solidification, these trapped gases induce the formation of pores in the metal.
- Inclusion: Inclusion is another common occurrence in cast metal. The impurities or contamination present in the molten metal or the mold can affect the ductility or strength of the component. The concentration of these foreign matters in one spot during solidification can be even more severe, leading to cracking.
- Cracks: Cracks can be observed once the cast metal has been solidified. There can be many reasons for the cracks to form, including mold design faults, shrinkage, uneven cooling, excess porosity, and thermal stress.
- Shrinkage: Shrinkage is a major concern for industries during metal casting. Expansion and contraction are leading reasons for shrinkage. Closed shrinkage defects occur when the poured metal starts to solidify, and hot spots form inside the solidified metal. These can be difficult to detect visually. Open shrinkage defects are exposed to the atmosphere and easily detectable due to their presence on the metal surface. The “pipe” type defect starts at the surface and burrows within the cast, while “caved surface” defects are scattered across the surface as hollow cavities.
The severity of these defects requires a proper inspection method that can identify macro and micro defects present in the cast metal without error. NDT is an effective solution to identify these metal casting defects to ensure the safety and efficiency of the cast metal component.
Identifying Different Types of Defects in Cast Metals With NDT
Surface or internal metal casting defects can be identified with NDT technologies such as Eddy Current Testing (ECT) or Ultrasonic Testing (UT).
ECT can essentially replace Liquid Penetration Testing (LPT) and Magnetic Particle Testing (MPT) to be the most effective choice for identifying the surface or near-surface defects and casting irregularities. Eddy Current Array (ECA) probes and instruments can sense the change in the magnetic field induced within the cast metal, which indicates a flaw. This mechanism also enables technicians to use ECA for examining complex geometrical components.
UT, however, is most commonly adopted by industries for its volumetric and accurate defect detection ability. As the ultrasonic wave-induced through the transducer within the cast metal is reflected back, the deflection of the wave can be analyzed to identify the presence of cracks, pores and voids, inclusions, and shrinkage defects.
In addition, advanced UT instruments, probes and scanners can enable high-resolution A-scan displays, making it easier to distinguish and locate pores, grains, and other metal casting defects. The advanced NDT probes, instruments, and software make it possible to locate difficult-to-detect defects to ensure quality and meet standards for casting.
NDT Assessment of Metal Casting Defects for Quality Assurance
Meeting quality standards is the foremost priority of manufacturers. With a wide range of cast metals being used across industries, ensuring the quality of these cast components is crucial for safety and efficiency. With NDT, metal casting defects can be identified early in the process. Evaluation of flaws through NDT can help industries evaluate material integrity, safety, and thus, production excellence.
Zetec provides advanced NDT solutions to facilitate your need to identify metal casting defects for a wide range of applications. To learn more, contact us today!

